

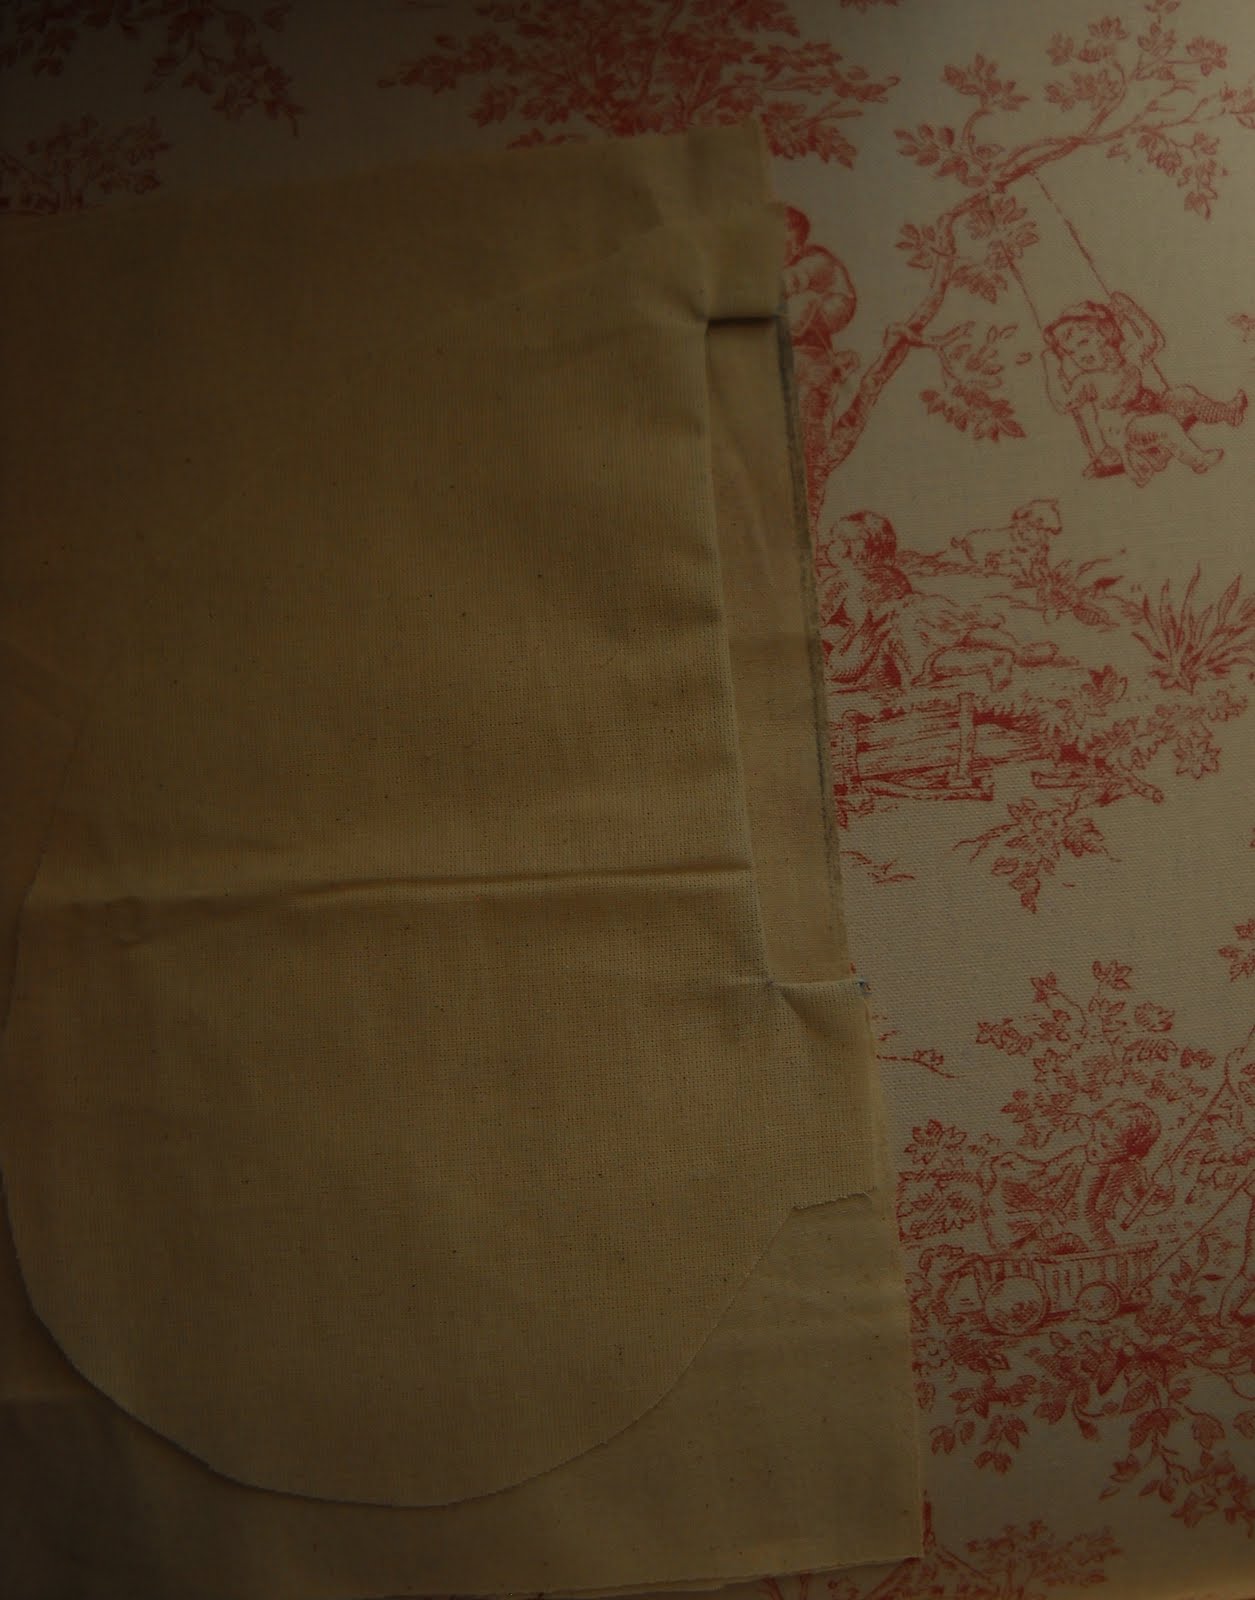
Alright, so to start you cut out the pocket piece with your fabric folded (for a skirt with two pockets do this twice). If your skirt did not come with a slit pocket it's simple to make. Just make this curved shape and on one side make it straight, and be sure to include the two dots where you would like the pocket to open (those two spots need to be on the seam line, so if your seam allowance is 1.5 cm, then make your two slit opening spots 1.5 cm from the straight edge of your pocket.

Now the easiest way to mark your pocket opening is to stick a pin into the marked spot on your pattern piece and flip the pocket over and make an x shape with pencil or chalk right under the pin. So in the picture to the right I have put a pin through the fabric on the underside and am now marking it with pencil. It's only necessary to do this on one side of the fabric, but I often put it on both just to mark it as the right side of the fabric (this is important if your not using a patterned fabric). After cutting and marking, if you have a serger then at this point you should serge all vertical edges (so the front and back of your skirt and the straight edge of your pockets).


Now this part may be difficult to do, but probably more just difficult to explain. Your going flip the pocket and starting from the bottom push the seam allowance towards the skirt. Edge stitch on the skirt (not the pocket) slowly until you get to the corner, stop with the needle down, pivot and edge stitch up to the top pocket opening all the while making sure that your seam allowance is pushed towards your skirt, and then stop at the last corner, pivot with the needle down, and sew to the edge.


If you're doing two pockets do the same on the other side, and then sew the back skirt piece to the front skirt piece right sides together on the side seam. But, you should have the front of your skirt on the bottom so that when you get to a corner of the pocket you can reach you hand in between the skirt and push away the pocket opening so you don't end up sewing your pocket shut.


Great! I'm not skilled like you, but i want to try!
ReplyDelete(love your blog, i've just discover it, suddently in my favs)
Nà
http://giocodidonne.blogspot.com/
Oh please give it a try, and let me know if you have any trouble or get confused, and I'll try and help : )
ReplyDeleteThis is really good! x hivenn
ReplyDeleteThank you for this! This is really good and I've been meaning to try this with a pair of short I have lying around! Thank you!
ReplyDeleteEee, I'll have to wait until I get somewhere remotely settled to attempt this I think. Also, you worked for Nadinoo?
ReplyDeleteIndeed I have : )
ReplyDeleteOh I know what you mean about writing down tutorial steps - even the most basic of things can become quite lengthy! You did a fine job on this one :)
ReplyDeleteOh I'm glad you think so. I"m always worried that it just doesn't make sense when its not in my head ; )
ReplyDeletewell done, miss!
ReplyDeletexx
alexandra
Oh thank you Madame Grecco : )
ReplyDeleteGreat tutorial... and so useful!
ReplyDeleteI like the concept of Slit Pocket. You have a great talent and art. I am appreciating you for these. Keep doing such art work.
ReplyDeletesports injuries in Cheshire